A Radicchio Salad for People Who Don’t Think They Like Radicchio

The Danish chef Frederik Bille Brahe shares the recipe for the star dish at his newly reopened Copenhagen cafe Apollo Bar & Kantine.

Article by Gisela Williams

Frederik Bille Brahe’s Salada Rosso. Photograph by Charlotte de la Fuente.

At the start of this year, the celebrated Danish chef Frederik Bille Brahe, 40, closed down Apollo Bar & Kantine, his beloved art-world hangout in the courtyard of Copenhagen’s Kunsthal Charlottenborg, in order to reinvent the space and its menus. He and his executive chef, Yuta Kurahashi, 36, shifted their focus to dinner and now serve an evening meal of pared-back dishes that riff on seasonal ingredients. But if Bille Brahe likes to keep things simple, he also enjoys surprising his guests. The dish he calls Salada Rosso presents as an untouched head of radicchio but it is, in fact, a clever piece of trompe l’oeil: the chicory has been deconstructed, its bitter leaves coated with a rich, earthy black garlic and almond cream and a sweet citrus vinaigrette, then reassembled with chunks of tart blood orange tucked between them. Radicchio, Bille Brahe says, is a vegetable “most people think they don’t like — but then you make something with it that changes their minds.” Below, he shares the recipe.

The salad being finished in the kitchen.
The dish being finished in the kitchen at Bille Brahe’s restaurant Apollo Bar & Kantine in Copenhagen. Photograph by Charlotte de la Fuente.

Frederik Bille Brahe’s Salada Rosso

Ingredients 

2 heads of radicchio
2 blood oranges and 1 more for zest

For the crumble

1⅘ ounces dry (ideally day-old) bread
Olive oil
About 15 walnuts
3½ ounces almonds, with the skin removed
¾ cup, plus a tablespoon of water
3 cloves of black garlic
Salt

For the dressing

½ cup rose petal vinegar or red wine vinegar
2 teaspoons brine from preserved lemons
1 teaspoon balsamic vinegar
½ teaspoon mirin
½ teaspoon liquid shio koji
½ cup rapeseed or sunflower oil
1½ tablespoons honey

Special equipment

Kitchen thermometer
High-speed blender


Method

1. Clean the radicchio by cutting off the bottom and separating the leaves into a container partly filled with ice-cold water. Try not to break the leaves when separating and washing. Dry the leaves in a salad spinner and store them on a tea towel until later.

2. To prepare the orange segments, first cut off the top and bottom of the fruits and remove the peel. Then, slice off the white pith from the exterior, leaving just the flesh of the oranges. Cut each orange into 3 pieces by slicing from the sides toward the core and remove the pith at the centre. Cut each slice into 10-12 smaller pieces and set aside.

3. Make the crumble: Cut the bread into roughly inch-square cubes, toss them with a little olive oil and spread them on a sheet tray. Bake at 375 degrees for roughly 10 minutes. Toast the walnuts in the oven, for 6-8 minutes. The bread and nuts should be golden brown and crispy. Once cool, mix them together in a blender until you have a medium-coarse crumble. Set aside.

4. Make the almond cream: In a high-speed blender, blend the almonds and water for a few minutes. Pass the liquid through a muslin cloth into a pot. Heat the liquid to 195 degrees, around boiling point, and let it sit on the heat until it thickens. Set it aside and let it cool in the pot for about 15 minutes. Put half of the purée back into the blender with the black garlic cloves and blend until the texture is consistent, then fold it into the unblended half of the purée. Leave in the fridge until serving.

5. Make the dressing by combining all the ingredients in a bowl with a whisk or a hand blender. Set aside.

6. Assemble the salad (you can make one big dish or two smaller ones): Start by laying out the leaves, curved side down, on a cutting board. It’s helpful to group larger leaves together and smaller leaves together. Add a generous spoonful of the almond cream into the core of every third leaf. Then dress all the leaves generously with the dressing, trying to cover each one. Next, add small chunks of orange to some of the leaves. Add a sprinkle of the crumble, flaky salt, black pepper and orange zest to all of the leaves. Now, add a dollop of the almond cream to a plate and lay the largest leaves, or two together, on top of the dollop, creating a bowl. Add leaves on top, starting with the largest and finishing with the smallest, until you’ve made a mountain. Finally, add a sprinkle of crumble and a little orange zest on top to finish.

Lana’s Ricotta Gnudi with Shiitake Mushrooms will Warm You

Alex Wong shares a recipe for gnocchi-like dumplings with mushrooms, perfect for the onset of cooler Autumn weather.

Article by Hannah Tattersall

Alex Wong's ricotta gnudi, pine mushroom and shiitake from Lana restaurant. Photography by Leigh Griffiths.

Adapting to the changing demands of its customers, Circular Quay favourite Lana – think modern Italian meets punchy Asian flavours – is entering Autumn with a new sharing menu. New head chef Peter Tran (formerly of Pendolino) has joined the team alongside executive chef Alex Wong, who has kindly shared his recipe for ricotto gnudi (gnocchi-like dumplings) with pine and shiitake mushrooms with T Australia.

Lana executive chef Alex Wong. Photograph courtesy of House Made Hospitality.
The ricotta gnudi at Lana restaurant. Photography by Leigh Griffiths.

For the gnudi: 

350g dry ricotta
75g grated parmesan
1tsp salt
1 whole egg, lightly beaten
27g “00 flour”
200g Semolina
200g “00 flour” 

METHOD: 

Start this recipe the day before. Place ricotta, parmesan, salt and egg into a mixer fitted with a paddle attachment, beat on high until smooth. Alternatively, mix with a spoon vigorously until smooth. Add flour and mix well.

Transfer into piping bag. Mix semolina and flour in a bowl and sprinkle over a tray. Pipe golf ball-sized balls onto the flour and press down lightly. Aim to have a 4mm gap between the balls. Once all piped, dust gnudi balls with a bit of the semolina and flour mix from the tray and then place in the fridge uncovered for 24 – 36hrs.

The flour mixture creates a nice crust on the gnudi, ensuring they do not explode when cooking. 

For the shiitake dashi (makes way more than needed) 

20g strip dried konbu
2L cold water
200g dried shiitake mushrooms
100g dried porcini mushroom
40g ginger, sliced
50g parmesan rind
2g whole black peppercorn
250ml mirin
125ml tamari 

METHOD: 

Heat water and konbu and bring to a simmer. Add the dried shiitake and porcini mushrooms along with the ginger, parmesan rind, and black peppercorn and simmer for 30 minutes. 

Remove from heat, add then add the tamari and mirin and set in fridge to cool overnight. The next day, strain through a fine sieve. 

ASSEMBLING THE GNUDI DISH: 

50ml extra virgin olive oil
1 clove garlic, lightly crushed (not cut or chopped)
1 punnet fresh shiitake mushrooms, stalks removed, cut into chunks
2 sprigs thyme
16 pieces of gnudi
150 – 250ml of mushroom dashi
50g butter
30g grated parmesan
Fresh black pepper to finish.  

METHOD: 

Place a large pot of water to the boil, add a generous amount of salt (water should taste like sea water) and bring to a rolling boil. 

Place a medium sized stainless-steel pan or wide based pot over high heat. Add the olive oil and garlic and cook for about a minute until fragrant. Add the shiitake mushrooms and cook until soft, seasoning with salt. Remove mushrooms from pan and set aside.  

To the same pan, add 150ml of the mushroom dashi and the butter and bring to the boil, emulsifying the butter into the dashi. Add in extra of the mushroom dashi if required. 

Meanwhile, using a wooden spoon or tongs, create a whirlpool in the salted boiling water, and drop in the gnudi balls carefully. Allow the water to come back to the boil and once the gnudi float, they are cooked. Gently remove with a slotted spoon or a sieve and place them straight into the butter sauce. 

Once all the gnudi balls are in the sauce, cook until the sauce thickens slightly (you don’t want it too). Remove from heat, add the parmesan and swirl the pan (toss if you can) so the gnudi absorbs sauce, and sauce becomes emuslified. Finish with a few grinds of fresh black pepper. Divide onto two plates, and add some of the shiitake mushrooms.

*** the leftover shiitake dashi can be used as a stock for cooking pasta or ragu or even a vegetarian udon dish.

Recipe: Bake Fabbrica Bread Shop’s Chai-Glazed Hot Cross Buns at Home This Easter

Head baker Aniruddha Bhosekar shares his recipe for the warmly spiced bread, glazed with a signature spiced chai, just in time for the long weekend. Plus he has expert tips on the best way to eat one.

Article by Hollie Wornes

Chai glazed hot cross buns from Sydney's Fabbrica Bread Shop.Chai glazed hot cross buns from Sydney's Fabbrica Bread Shop. Image Courtesy of Fabbrica Bread Shop.

Hot cross buns are a quintessential Easter treat in Australia, rivalling the popularity of foil-wrapped eggs. The spiced delights, marked with a distinctive cross on top, evoke a sense comfort akin to America’s pumpkin spice latte — an indulgence that perfectly complements the onset of Autumn.

Traditionally a hot cross bun recipe features a blend of cinnamon, ginger, nutmeg, clove, and citrus, but over time, it has evolved through various iterations. Melbourne’s Lune Croissanterie has innovated with a hot cross cruffin (a muffin-shaped, hot cross bun-spiced croissant) and Pirate Life Brewing has gone as far as creating a chocolate chip hot cross bun-flavoured stout. At Sydney’s Fabbrica Bread Shop, the head baker Aniruddha Bhosekar adds a more subtle twist to the hot cross bun, spicing it up with a chai glaze. 

“I come from Mumbai and there are a lot of eateries there that have a bun maska, which is essentially bread and butter, and chai as a breakfast option,” Bhosekar says. 

“I wanted to recreate that here and also show the similarities between this breakfast option in Mumbai and hot cross buns.” 

The chai-glazed hot cross buns are baked fresh at Fabbrica Bread Shop in Rozelle each day. Stop by for an individual bun, a pack of six or the hot cross bun hamper which includes a stick of the signature Fabbrica chai-spiced butter.

Can’t make it to the store? Below, Bhosekar shares his recipe with T Australia, as well as expert tips on how to eat a hot cross bun.

Fabbrica Bread Shop exterior.
Fabbrica Bread Shop exterior. Photograph courtesy of Jana Langhorst for Buffet Digital.

On the best way to eat a hot cross bun…

As bakers, we have the luxury of eating hot cross buns straight out of the oven. So I’d recommend that. Otherwise, toasted with a healthy amount of butter and served with a chai, preferably.

On the local producers to shop…

Most of our baked goods are made with a cultured butter that comes from St David Dairy in Victoria and our flour is from Wholegrain Milling Company, a family-owned business in Gunnedah NSW. [Fabbrica Bread Shop] has been using both of these suppliers from day one.

The Baker Aniruddha Bhosekar at Fabbrica Bread Shop.
The baker Aniruddha Bhosekar at Fabbrica Bread Shop. Photograph courtesy of Jana Langhorst for Buffet Digital.

Chai-Glazed Hot Cross Buns

Ingredients for the buns

500 gr all-purpose flour
1.5 tsp salt
50 gr caster sugar
50 gr butter
1 egg
50 gr rapadura or brown sugar
30 gr fresh yeast
1.5 tsp cardamon powder
1 tsp cinnamon
1.5 tsp ground ginger
250 ml water
250 gr soaked dry fruits (currants, raisins, sultanas) 

Ingredients for the cross

75 gr OO flour (a finely ground Italian flour)
1/2 baking powder
70 ml water
15 ml oil
A pinch of salt and sugar

Ingredients for the chai glaze

150 ml water
60 gr sugar
25 gr black tea leaves
20 gr grated ginger
3 cardamom pods crushed
1 cinnamon quill

Method

In a large bowl, mix the flour, salt, sugar, yeast, spice mix, eggs and water until combined, then knead the dough for 5 minutes before adding butter and soaked fruits.

When the dough is ready, allow it to ferment by covering and leaving in a warm space for 45mins–1 hour, it should double in size.

Portion the dough into buns, line them on a greased tray and proof for another hour, or until the buns double in size. While the buns are resting, pre-heat the oven to 200 degrees celsius.

For the chai glaze, add water, sugar, crushed cardamom pods, ginger and cinnamon quill to a pot and bring to boil. Add the tea leaves and continue boiling for 2–3 minutes. Cover the bowl and let the tea steep into a syrup.

Strain the syrup and return to the stove over a medium heat. Stir until the syrup has reduced to about 1/2 in volume and is thick like a glaze.

When the buns are ready to be baked, use the batter made for the cross to pipe the cross on top. Bake the buns at 200 degrees celsius for 14–15 minutes.

As soon as the buns are out of the oven, brush them with the chai glaze and enjoy fresh with a healthy smear of butter.

A Lamington for Valentine’s Day? We’ll Take Two

It’s not the most conventional Valentine’s Day dessert, but this recipe from Hawke’s Brewing Co. and The Lucky Prawn will hit the sweet spot this weekend.

Article by T Australia

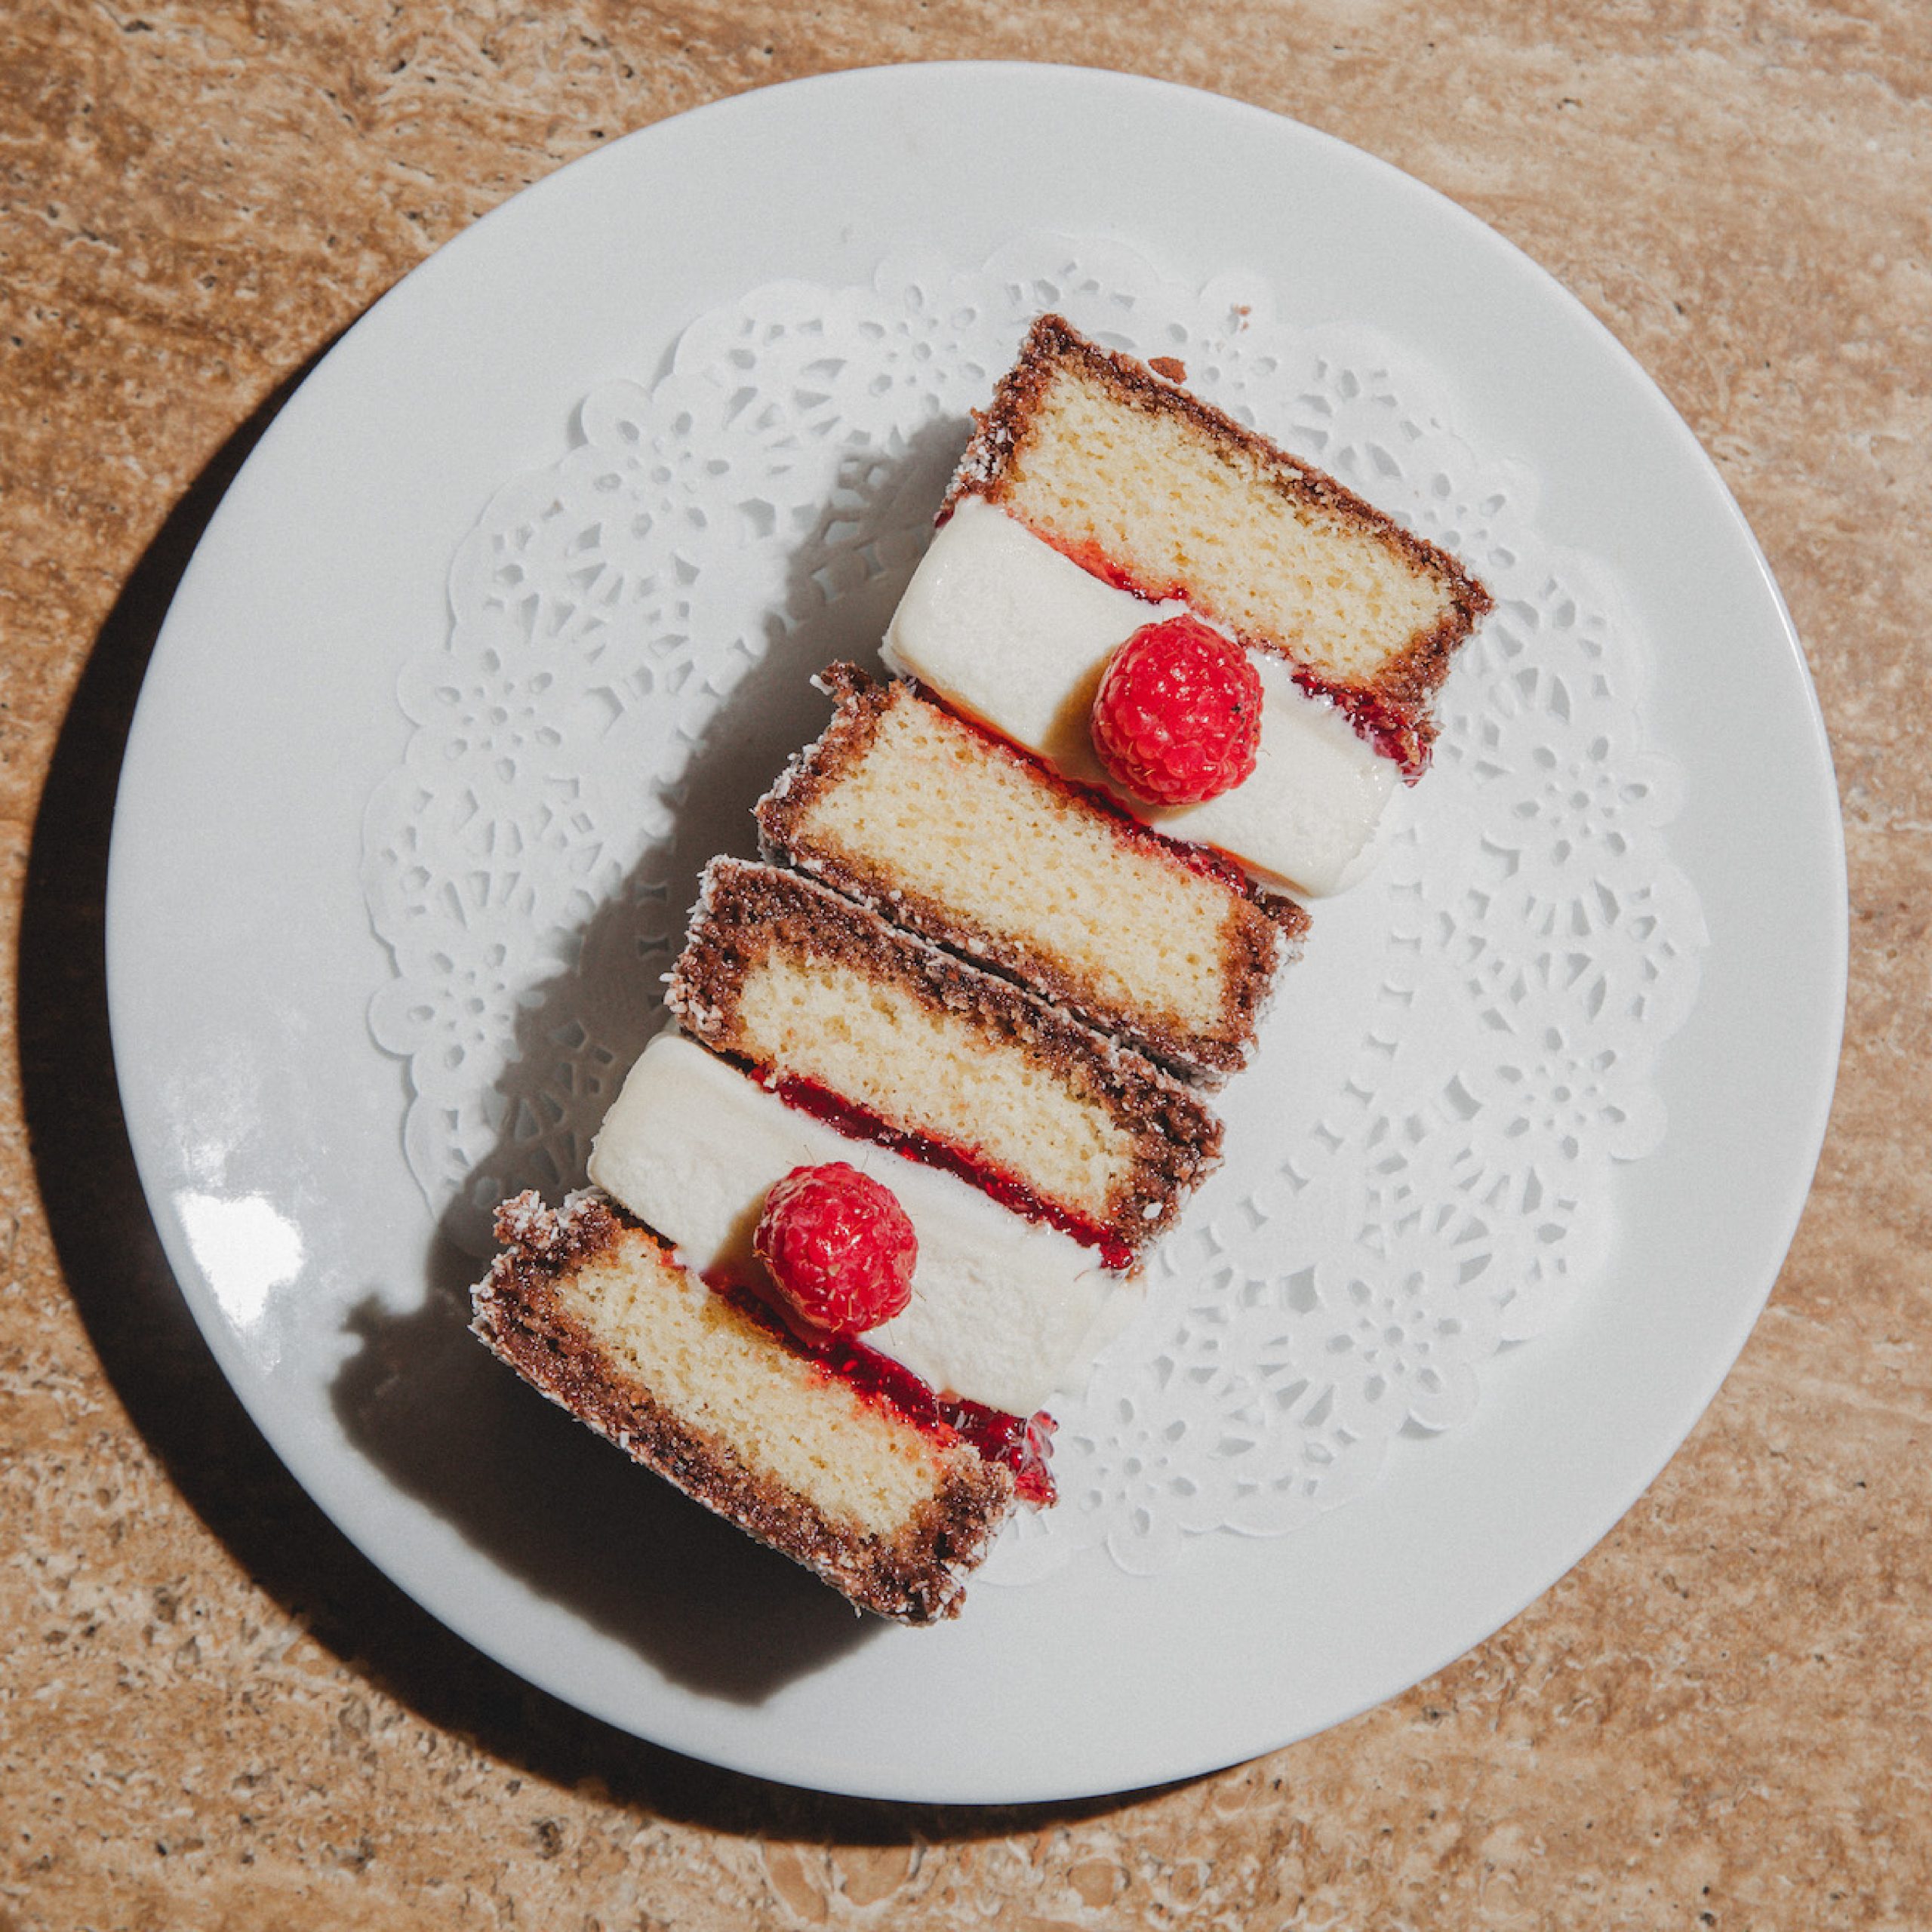
Lucky Prawn Love Lamington. Photograph courtesy of The Lucky Prawn Chinese Bistro / Hawke's Beer and Leisure Centre.

The way to someone’s heart is through their stomach. Or, perhaps, it’s just the way to T Australia editors’ affections. This Valentine’s Day we’re taking a leaf out Hawke’s Brewing Co. and The Lucky Prawn’s book and whipping up their easy-to-make Lucky Prawn Love Lamington.

Lucky Prawn Love Lamington

Ingredients

Batter
6 Eggs
225g Sugar
225g Self Raising Flour 50g Corn Flour
50g Butter
125ml Water

Chocolate Sauce
250g Icing Mixture
25g Cocoa Powder Nestle 25g Butter
150ml Milk

Method

Sponge

Using a mixer, beat egg on high for 5 minutes then add sugar slowly. Once ribboning is achieved, stop.

Sift Self Raising and Cornflour together.

Fold Flour into Egg Mixture to make batter.

Add Melted butter to water and fold through batter.

Line a baking tray approximately 30cm x 30cm and line with baking paper. Pour out the mixture and bake at 175-degrees for 30 minutes.

Remove from oven and Cool in Tray.

Chocolate Sauce

Mix icing sugar, cocoa powder and milk together. Add melted butter (if it’s looking a little thick add more milk).

Build

Once cool, trim to squares and cut sponge.

Dip each cake in chocolate sauce then roll in desiccated coconut. Set in the fridge or coolroom.

Once set, serve with vanilla ice cream enjoy eat on its own. Keep in an airtight container for up to three days.

Celebrate Lunar New Year With This Recipe for Lucky Prawn Toast

Cooking for friends and family at home this Lunar New Year? Try this easy recipe from Hawke’s Brewing Co. and The Lucky Prawn.

Article by T Australia

Lucky Prawn Toast
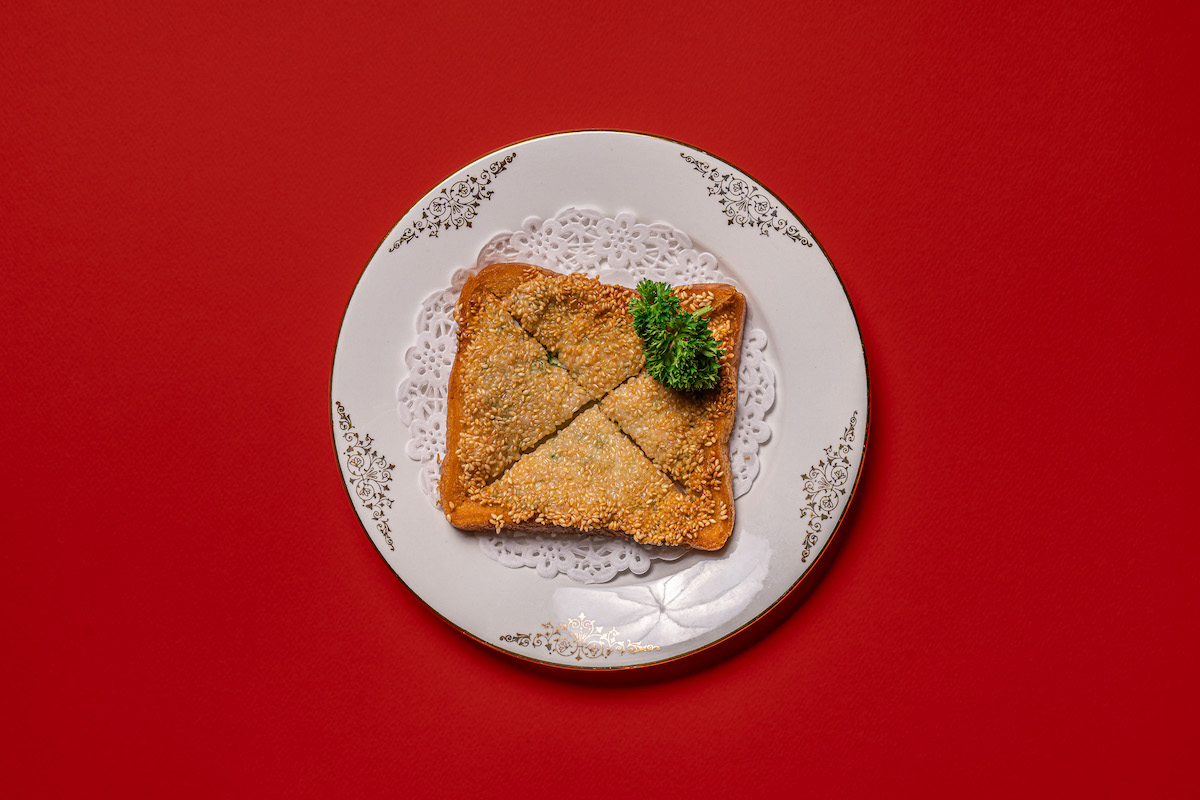
Lucky Prawn Toast. Photograph courtesy of The Lucky Prawn Chinese Bistro / Hawke's Beer and Leisure Centre.

Food plays an integral role in Lunar New Year celebrations, and what better way to celebrate the Year of the Dragon than by indulging in your favourite Chinese dishes.

Cooking for friends and family at home? Hawke’s Brewing Co. and The Lucky Prawn are bringing their Lunar New Year flavours to us with their recipe for Lucky Prawn Toast.

LNY2
Photograph courtesy of The Lucky Prawn Chinese Bistro / Hawke's Beer and Leisure Centre.

Lucky Prawn Toast

Ingredients

1kg Finely chopped prawn meat
25g Raw minced ginger
50g finely sliced green shallots
1 egg white
1tbs fine salt
25g sesame seeds
10 untoasted slices soft white bread
Oil for frying

Method

Mix prawns, egg, salt, ginger, shallot in a bowl.

Spread the mixture evenly across 10 slices of bread, ensuring to go all the way to the edges. Keep in mind you want the prawn mixture even across the face of the bread. No mountains in the middle of the slice!

Coat the prawn mixture with sesame seeds, giving it a little push.

Preheat a heavy-based pot with oil. Once the oil reaches 165 degrees place toast in one at a time.

Cook until golden brown, then turn over. Once both sides have the desired colour, leave to sit on absorbent paper.

Cut into triangles and serve with your favourite dipping sauce.

Try This Simple Recipe for Sweet and Spicy Korean Fried Chicken

It takes just half an hour to prepare and cook this mouthwatering fried chicken dish, originally published in “The Korean Cookbook”
by Junghyun Park and Jungyoon Choi.

Article by T Australia

Sweet and Spicy Korean Fried Chicken
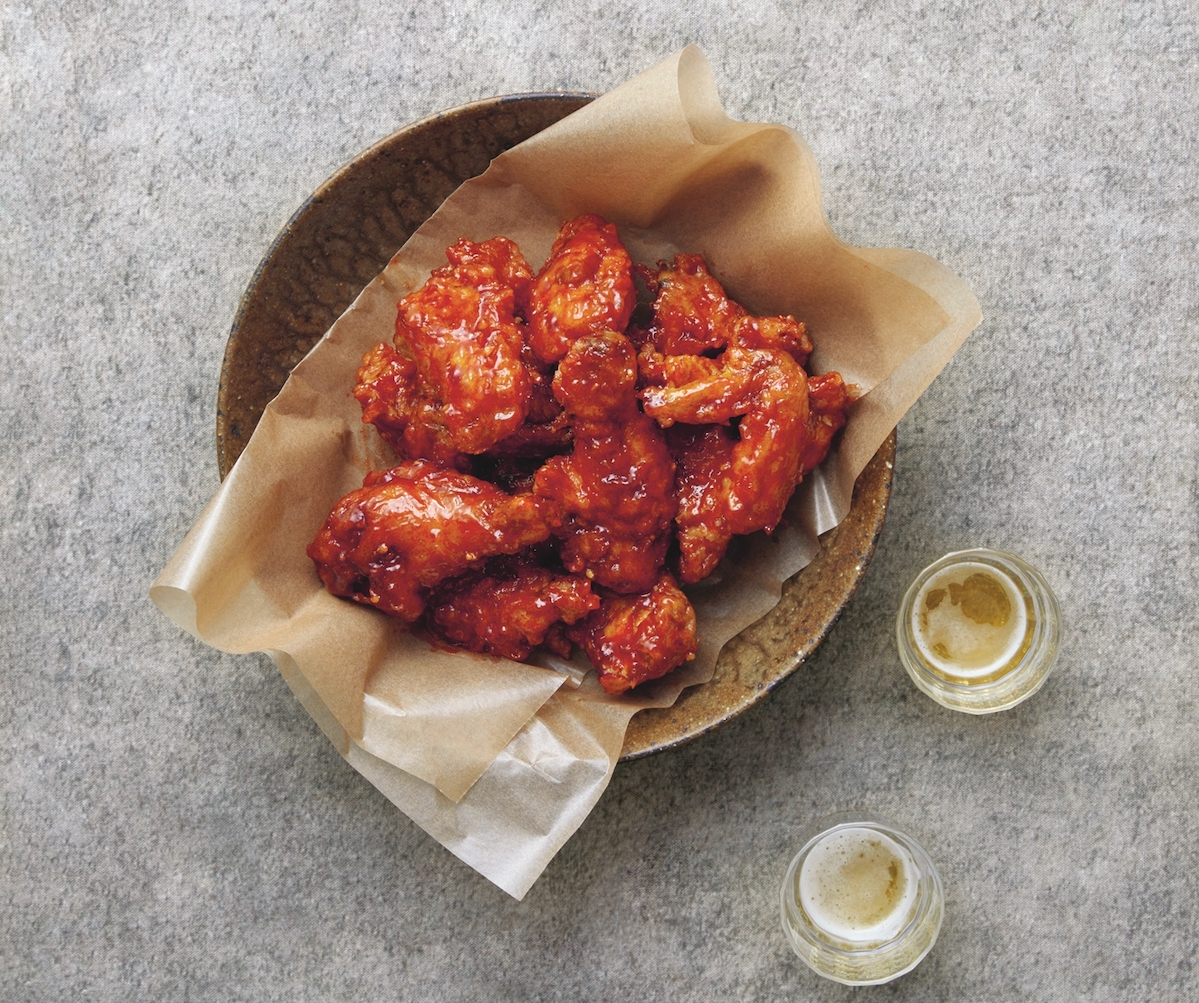
Sweet and Spicy Korean Fried Chicken, published in "The Korean Cookbook" by Junghyun Park and Jungyoon Choi. Image courtesy of Phaidon.

Korean fried chicken seasoned with a sauce made with soy sauce, gochujang (red chili paste), gochugaru (red chili flakes), and corn (golden) syrup is as popular and common as the Korean Fried Chicken. This recipe, extracted from “The Korean Cookbook” by Junghyun Park and Jungyoon Choi (Phaidon), is an easy way to enjoy fried chicken with different flavours, by eating half as simply fried and the other half tossed in this sauce. The coating is made with a packaged fried chicken mix commonly sold in Korea.

Sweet and Spicy Korean Fried Chicken

Serves 2

Ingredients for Sauce

3 tablespoons corn (golden) syrup
2 tablespoons ketchup
2 tablespoons gochujang (red chili paste)
2 tablespoons ganjang (Korean soy sauce)
1 tablespoon minced garlic
½ tablespoon fine gochugaru (red chili powder)
1 tablespoon sugar

Ingredients for chicken

800g bone-in, skin-on chicken pieces
1 tablespoon mat-gogeum (MSG/salt blend)
1 teaspoon sugar
1 teaspoon freshly ground black pepper
Neutral cooking oil for deep-frying (about 8 ½ cups
180g Korean seasoned fried chicken mix

Method

In a small saucepan, combine the corn syrup, ketchup, gochujang, soy sauce, garlic, gochugaru, and sugar and bring to a boil over medium heat, stirring well.

Once boiling, reduce the heat to low and simmer for 3 minutes before removing from the heat.

Pat the chicken dry with paper towels. In a bowl, sprinkle the chicken with the MSG/salt blend, sugar, and black pepper and mix well. Let sit for 15 minutes.

Pour 7.5–10 cm neutral oil into a large deep pot or deep fryer and heat to 180°C.

In a small bowl, stir together 6 ½ tablespoons of the fried chicken mix and 4 tablespoons water to make a batter and mix well until uniform. Place the remaining generous 1 cup fried chicken mix in a large plastic bag.

Working with one piece at a time, place the seasoned chicken in the plastic bag and shake well until the chicken is well coated. Let settle for30 seconds before removing from the bag, shaking off any excess mix.

Set a wire rack in a sheet pan.Once the oil is up to temperature, reduce the heat to medium-low. Add the chicken pieces, starting with any larger pieces, such as a thigh or drumstick. Deep-fry for 12 minutes, or until cooked through.

Remove and set on the rack to cool for 3 minutes. Sauce the chicken by combining the fried chicken with the desired amount of sauce and tossing well in the bowl.

Plate and serve immediately.